You’ve decided to move your site to DMCA-ignored hosting. Now you’re staring at a working website and worrying — what if the migration breaks something? What if visitors hit an error during the switch? What if you lose data, or your email stops working, or Google notices the downtime and tanks your rankings?
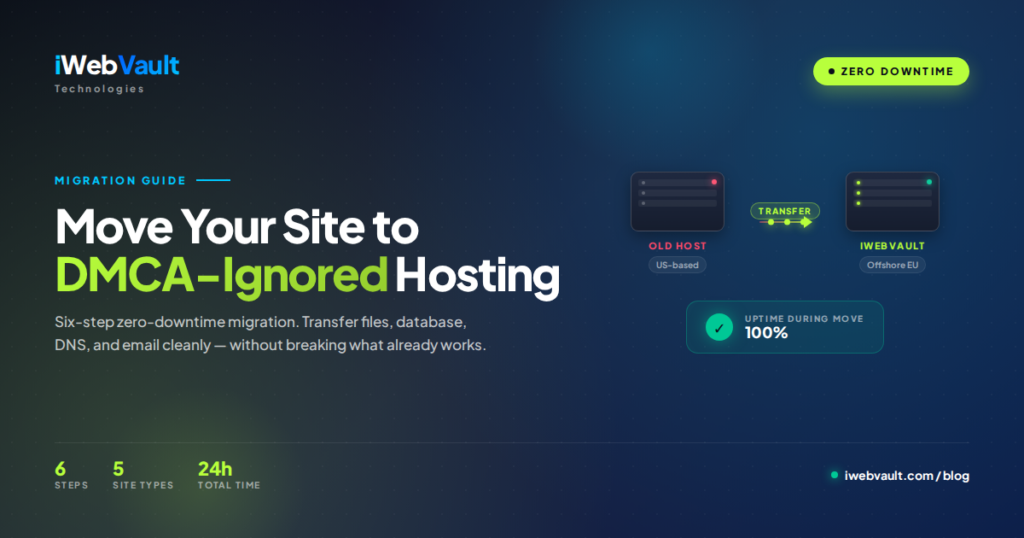
The honest truth is that site migration in 2026 is genuinely safe if you follow a tested sequence. Zero-downtime migration isn’t a magic trick reserved for big agencies — it’s a six-step process that any technically inclined site owner can execute in an afternoon. The key is doing the steps in the right order, with the right preparation, and keeping the old host alive as a safety net until you’re sure the new one is solid.
This guide walks you through the full process. We’ll cover the universal steps that apply to any site, then drop into the specifics for WordPress, static sites, custom PHP applications, and Node/Python apps. We’ll also cover the five mistakes that quietly break migrations and what to do if something goes wrong mid-switch.
- The six-step process for zero-downtime migration
- Pre-migration checklist that prevents 90% of issues
- How to migrate files, databases, DNS, and email cleanly
- Site-type-specific guidance (WP, static, PHP, Node)
- Rollback procedure if something breaks
Haven’t picked a host yet? Start with our comparison of the top DMCA-ignored providers. This guide assumes you’ve already signed up for new hosting.
The Fundamentals of Zero-Downtime Migration
Before getting into the steps, understand the four principles that make a clean migration possible:
1. Lower your DNS TTL 24-48 hours before
DNS TTL (Time To Live) is how long DNS resolvers cache your records before checking for changes. Default TTLs are typically 14,400 seconds (4 hours). If you switch DNS with that TTL, some visitors will still hit your old server for up to 4 hours after the change. Lower the TTL to 300 seconds (5 minutes) at least 24 hours before the switch — that way, when you do switch, propagation is nearly instant.
2. Stage on the new host before touching DNS
Get your site fully working on the new host while the old host still serves real traffic. Test with a temporary URL or a local hosts-file override. Only after you’ve confirmed everything works do you flip the DNS switch.
3. Keep the old host alive for at least 7 days
DNS caching means some users — especially those on aggressive ISP caches — won’t see the new site for up to 48 hours even with low TTL. If you cancel the old host immediately, those users see errors. Keep it active for a week minimum.
4. Backup before you touch anything
The single most important migration step is taking a complete backup before any change. If everything else goes wrong, you can restore from the backup. We’ll cover what “complete backup” means below.
Pre-Migration Checklist
Run through this checklist before you start. Each item addresses a common cause of failed migrations:
1. Full backup of files and database
Files: everything under your site’s root directory, including hidden files (.htaccess, .env, etc.). Database: a complete mysqldump of every database your site uses. Store both copies somewhere not on either the old or new host — a local machine, cloud storage, or a third location.
2. Document your DNS records
Log into your domain registrar’s DNS panel and screenshot every record. You’ll need to recreate them on the new host. Pay special attention to:
- A and AAAA records (main site IP)
- MX records (email)
- TXT records (SPF, DKIM, DMARC, domain verification)
- CNAME records (subdomains, CDN integration)
- SRV records (some services like SIP)
Forgetting MX records is the number-one cause of “my email broke after migration” support tickets.
3. List third-party integrations
Stripe webhooks, OAuth callbacks, SSL certificates, CDN configuration, monitoring tools (UptimeRobot, Pingdom), email service providers (Mailgun, Postmark). All of these may need to be updated after the migration. Write them down now.
4. Note your email accounts
If you use hosting-provided email (rather than a dedicated provider like Google Workspace), every email account on the old host needs to be recreated on the new host. Existing emails in the old inboxes will be lost unless you specifically migrate them — usually via IMAP transfer.
5. Check for hardcoded paths and URLs
Some applications hardcode absolute paths (/home/olduser/public_html/) or full URLs (https://oldsite.com/wp-content/...) into the database or config files. WordPress is particularly prone to this. We’ll address this in the migration steps.
The Six-Step Migration Process
Step 1 — Order and configure the new hosting
Sign up with your new offshore host (we’ll assume iWebVault for the rest of this guide; steps are equivalent on any cPanel-based host). You’ll receive cPanel credentials, an IP address for your new server, and nameserver addresses. Don’t change anything at your registrar yet.
Step 2 — Lower DNS TTL at the registrar
Log into your domain registrar (Namecheap, Porkbun, our anonymous registrar, etc.) and set the TTL on every DNS record to 300 seconds. Save. Wait 24-48 hours for this lower TTL to propagate before the actual switch. This step alone prevents the most common cause of visible downtime.
Step 3 — Transfer files to the new host
Three options, in order of preference:
Option A — SSH and rsync (fastest, most reliable for technical users):
# From the old host, SSH into the new host and pull files
rsync -avz -e ssh /home/olduser/public_html/ \
  newuser@new-host-ip:/home/newuser/public_html/

# Or push from old host to new host:
rsync -avz /home/olduser/public_html/ \
  -e ssh newuser@new-host-ip:/home/newuser/public_html/
Option B — cPanel backup and restore (easiest for shared hosting): Old cPanel → “Backup Wizard” → Full Backup → download the .tar.gz. New cPanel → restore the backup. Most offshore hosts including iWebVault accept full cPanel backups directly.
Option C — FTP/SFTP (slow but universal): Connect to the old host with FileZilla, download everything to a local folder, then upload to the new host. Reliable but takes hours for large sites.
Step 4 — Transfer the database
Export from the old database:
mysqldump -u dbuser -p dbname > database-backup.sqlCreate a fresh database on the new host (cPanel → MySQL Databases). Import the dump:
mysql -u newdbuser -p newdbname < database-backup.sql
Update your application’s config file with the new database credentials. For WordPress, that’s wp-config.php. For most PHP apps, it’s config.php or .env.
Step 5 — Test on a temporary URL
Before switching DNS, verify the new site works. Two ways:
Option A — Temporary URL provided by host: cPanel usually gives you a URL like http://new-host-ip/~username/ for testing. Browse to it and verify the site loads.
Option B — Local hosts-file override (more accurate): Edit your local /etc/hosts file (or C:\Windows\System32\drivers\etc\hosts on Windows):
new-host-ip yoursite.com www.yoursite.com
Now when you visit yoursite.com from your computer, you’ll hit the new server while everyone else still hits the old one. Test every important page, every form, every login, every payment flow.
Step 6 — Switch DNS
Once you’ve verified the site works on the new host, update DNS at your registrar:
- Change nameservers to your new host’s nameservers, OR
- Update individual A records to the new IP address
Don’t forget MX records and other custom records — recreate them based on the documentation you made in pre-migration. Most users see the new site within 5-10 minutes thanks to the lowered TTL.
After the switch
Visit the site from your browser, from your phone on cellular data, and from dnschecker.org to verify propagation. Monitor for 24 hours. Check email sending and receiving. Verify any third-party integrations still work.
Site-Type-Specific Guidance
WordPress sites
The cleanest approach is the All-in-One WP Migration plugin or a manual wp-cli migration. We covered both in detail in our WordPress on DMCA-ignored hosting guide. The critical extra step for WordPress is running wp search-replace 'oldsite.com' 'newsite.com' if your domain is changing, or fixing the siteurl and home options if hardcoded URLs ended up in the database.
Static HTML sites
Easiest migration of all — just transfer files. No database, no application logic. Use FTP, rsync, or even drag-and-drop in cPanel File Manager. Update DNS, done. Total migration time: under 30 minutes for most sites.
Custom PHP applications
Files + database + config update. Pay attention to:
.envorconfig.php— database credentials, API keys, site URL- File upload directories — make sure permissions match (usually 755 for directories, 644 for files)
- Cron jobs — recreate any scheduled tasks on the new host
- Custom PHP settings — if you used
php.inioverrides, copy them to the new host
Node.js and Python applications
These typically need VPS rather than shared hosting. The migration is similar in principle but more involved:
- Install Node/Python and matching version on the new VPS
- Transfer files via rsync or git clone
- Reinstall dependencies (
npm installorpip install -r requirements.txt) - Configure your process manager (PM2 for Node, systemd or supervisord for Python)
- Set up reverse proxy (Nginx) and SSL (Let’s Encrypt)
- Migrate database if applicable
Email accounts
Often forgotten until it breaks. Two steps:
- Recreate every email account on the new host with the same address and a temporary password
- Migrate existing emails via IMAP: tools like
imapsynccan copy all messages from old IMAP to new IMAP automatically
If you use Google Workspace, Microsoft 365, or another external email provider, the only thing to update is your MX records pointing back to them — your actual email isn’t on the host at all.
5 Migration Mistakes That Cause Downtime
1. Not lowering DNS TTL first
Skipping Step 2 means visitors will continue hitting the old server for hours after the switch. Some will hit a broken site if you’ve started tearing down the old one. Always lower TTL 24-48 hours before.
2. Forgetting MX records
You change your nameservers, your website works perfectly, and then you realise your email has been bouncing for two hours. MX records don’t transfer automatically — you must recreate them on the new DNS. Document them before you start.
3. Hardcoded old URLs in the database
WordPress, Drupal, Magento, and many other CMSes hardcode the site URL into the database. After migrating, some pages load, others 404, and images may fail to load. Run a search-replace operation on the database to fix this — for WordPress, wp search-replace; for others, manual SQL or tools like Sequel Pro.
4. File permission mismatches
Files transferred via FTP often arrive with wrong permissions, breaking PHP execution or file uploads. After transferring, run:
find /home/newuser/public_html -type d -exec chmod 755 {} \;
find /home/newuser/public_html -type f -exec chmod 644 {} \;
5. Cancelling the old host too soon
Caches persist, ISPs do their own DNS caching, and some users won’t see the new site for up to 48 hours. If you cancel the old host the moment you switch DNS, those users get errors. Keep the old host active for at least 7 days, ideally 14.
What to Do If Migration Goes Wrong
Even with perfect planning, occasional issues happen. Here’s how to recover:
The instant rollback
Because you kept the old host alive, rollback is simple: revert your DNS to point at the old server. Most users will be back on the working site within 5-10 minutes (thanks to the low TTL you set in Step 2). Fix the issue on the new host calmly, then re-do the DNS switch.
The data restore
If the migration corrupted data on the new host, restore from the backup you took in pre-migration. This is why the backup is non-negotiable — it’s the parachute that lets you make changes confidently.
The “everything looks wrong” troubleshoot
If the site loads but looks broken (no styling, broken images, 500 errors on some pages), the usual suspects are:
- File permissions wrong (apply the chmod commands above)
- Database connection failure (check config file credentials)
- PHP version mismatch (new host may default to a newer PHP version)
- Hardcoded URLs in database (run search-replace)
- Missing PHP extensions (most offshore hosts have all common ones; if specific app needs unusual extensions, check)
The professional help option
If you’re stuck, most reputable offshore hosts offer free migration assistance. iWebVault’s support team can perform a full cPanel migration on your behalf at no charge for new customers. Open a ticket, provide your old host credentials, and we handle the technical work.
Frequently Asked Questions
Active work is usually 1-3 hours for a typical small business or content site. The total elapsed time including TTL lowering and verification is 2-3 days. Most of that time is just waiting for DNS propagation — your hands-on work is much less.
Not if you do it properly. Google handles host changes without penalty as long as the content stays the same, the site stays available throughout (which zero-downtime migration ensures), and the URL structure doesn’t change. If your domain is also changing, that’s a different operation — use 301 redirects and submit the change of address in Search Console.
Yes, two ways. First, use the All-in-One WP Migration plugin if you have WordPress — it handles 90% of cases with a click. Second, let your new host’s support team perform the migration for you. iWebVault and most reputable providers offer this free for new customers; you provide old host login details and they handle the technical work.
No, properly executed migrations are invisible to visitors. The whole point of the zero-downtime process is that nobody notices anything changed except that the site might feel slightly faster on the new infrastructure.
SSL doesn’t transfer between hosts — but it doesn’t need to. Modern hosts including iWebVault use Let’s Encrypt to automatically generate new SSL certificates after DNS propagation. The browser sees a valid certificate on the new host within minutes of the switch.
With low TTL and a fast DNS switch, no. Email servers retry delivery for up to 72 hours if the recipient mail server is temporarily unavailable. As long as your new mail server is configured before you switch MX records, every email gets delivered eventually. If you’re nervous, leave MX records pointing at the old host for an extra day after the website switch, then migrate email separately.
Yes — common for complex sites. Migrate the website first, leave MX records pointing at the old host. Once the website is stable on the new host for a few days, migrate email separately. This isolates failures: if email migration goes wrong, your website isn’t affected, and vice versa.
Most hosts don’t refund partial months. Cancel the auto-renewal as soon as you’ve signed up with the new host, then let the old service expire naturally at the end of the paid period. You get full use of the safety-net buffer without paying extra.
Free migration assistance for new customers
Sign up with iWebVault and our support team will perform the full migration for you — free of charge. cPanel-to-cPanel, manual file transfers, database imports, DNS configuration, post-migration testing. You provide the old host credentials, we handle the technical work, you’re live on offshore hosting within 24 hours.